You can start the exam ordering process on the exam website, the URL is: aka.ms/examname so for example aka.ms/sc100 or aka.ms/az-400 , if it doesn’t work then you can find all of them here.
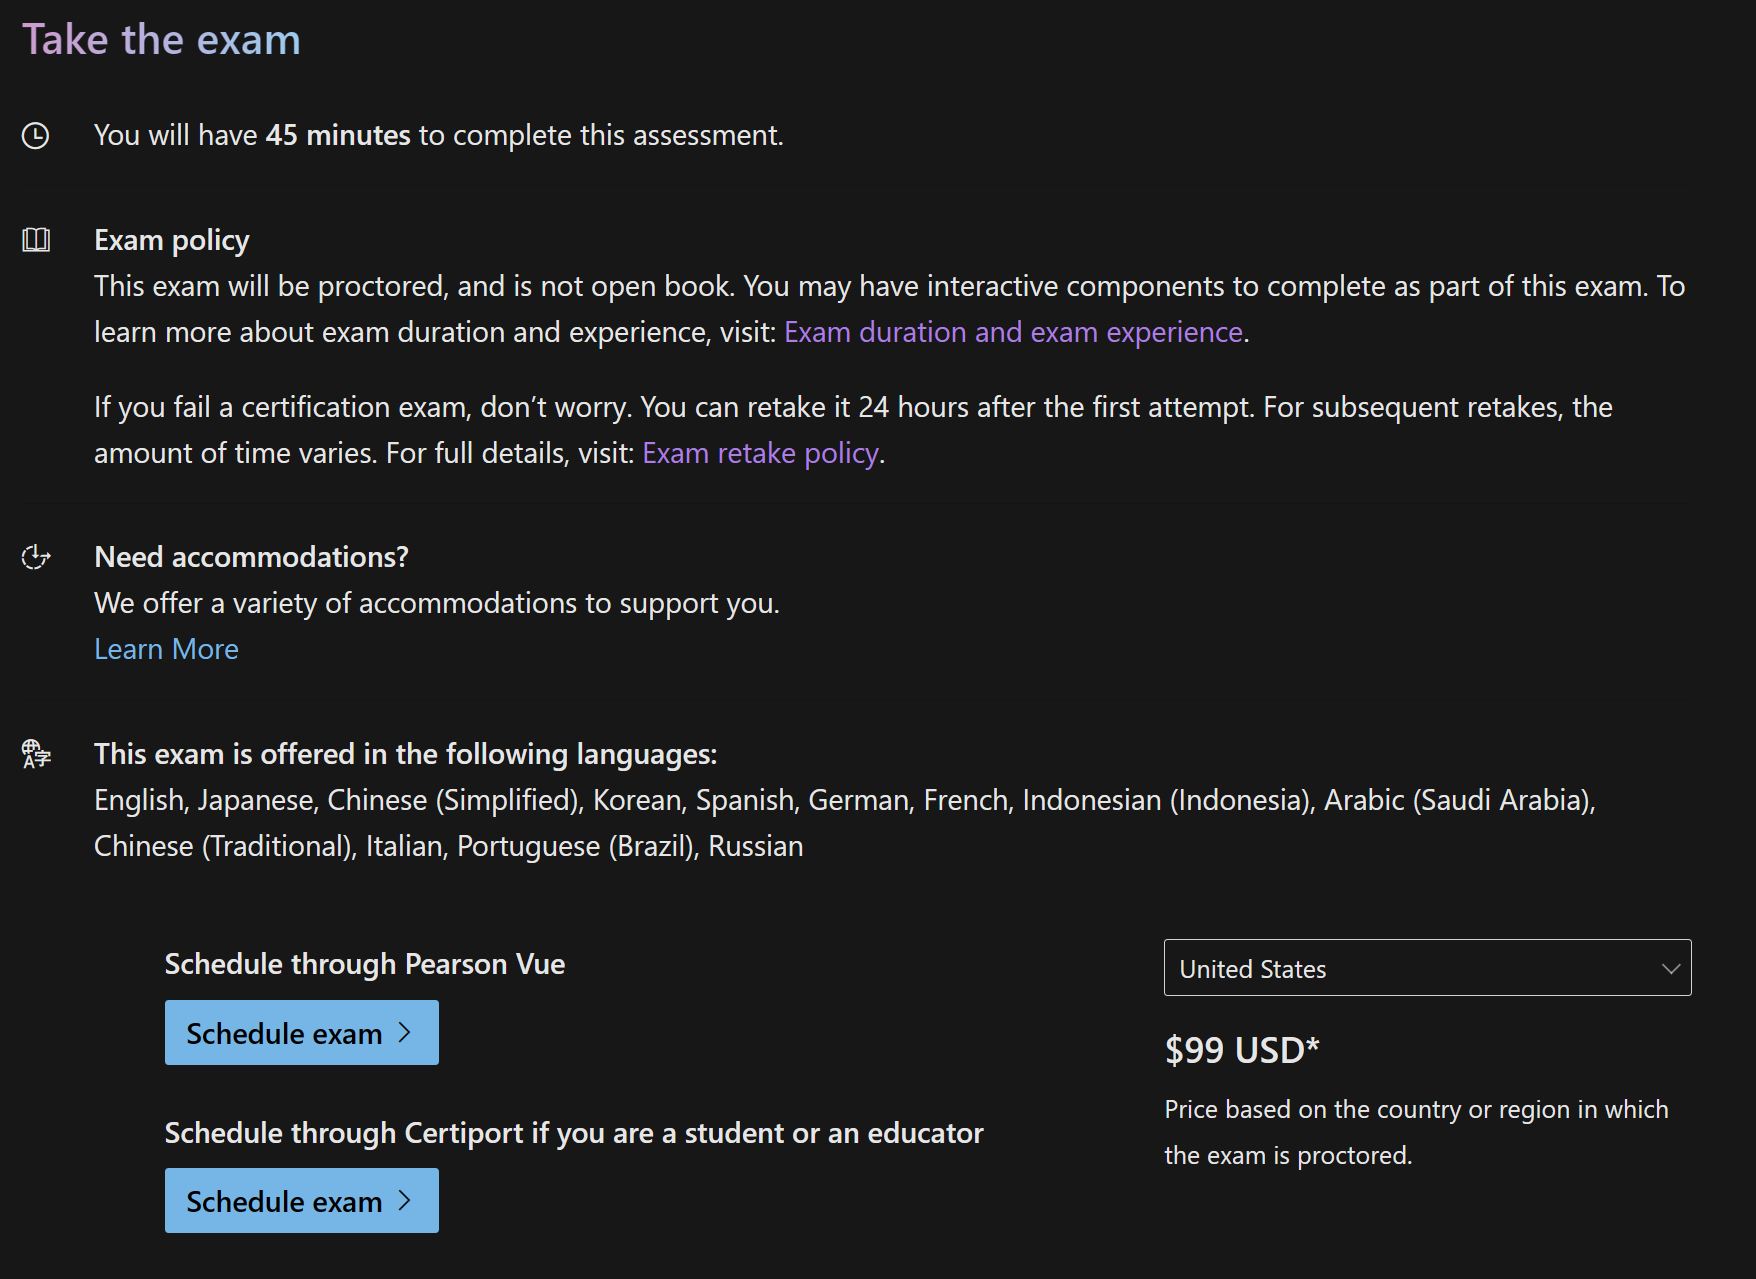
Then you scroll down to the “Schedule exam” section. For some exams there is also the option to take it through CertiPort, this option is mainly for students, you want the PearsonVue option here.
After clicking Schedule exam, you will be taken to the Transfer to Pearson page where you need to fill out your details regarding the exam registration. Keep in mind that these details need to match your ID exactly.
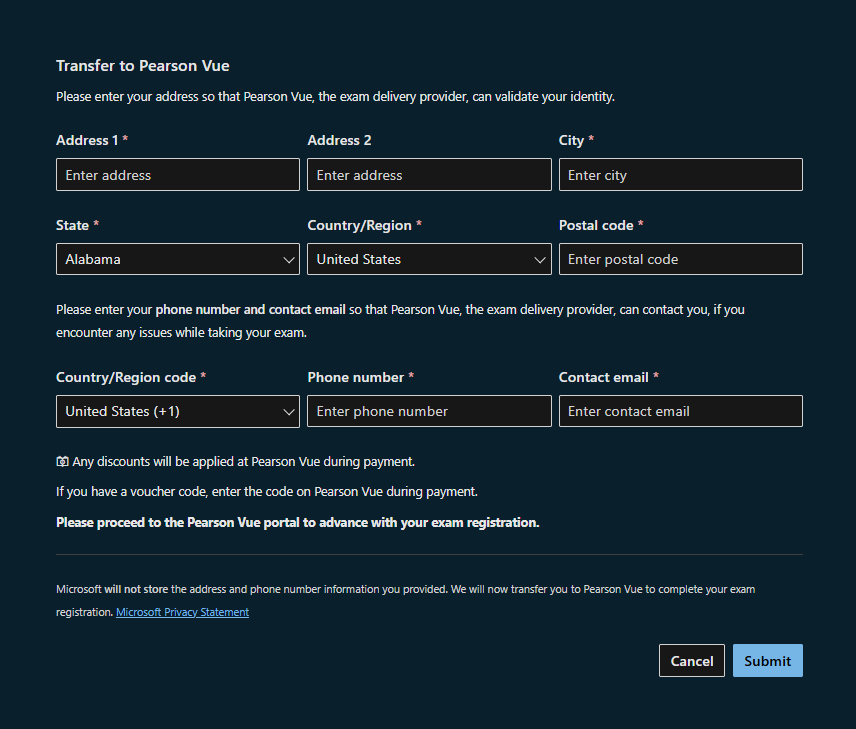
After you click Submit, you are then transferred to PearsonVue portal.
First you need to choose how you will take the exam. The choices are:
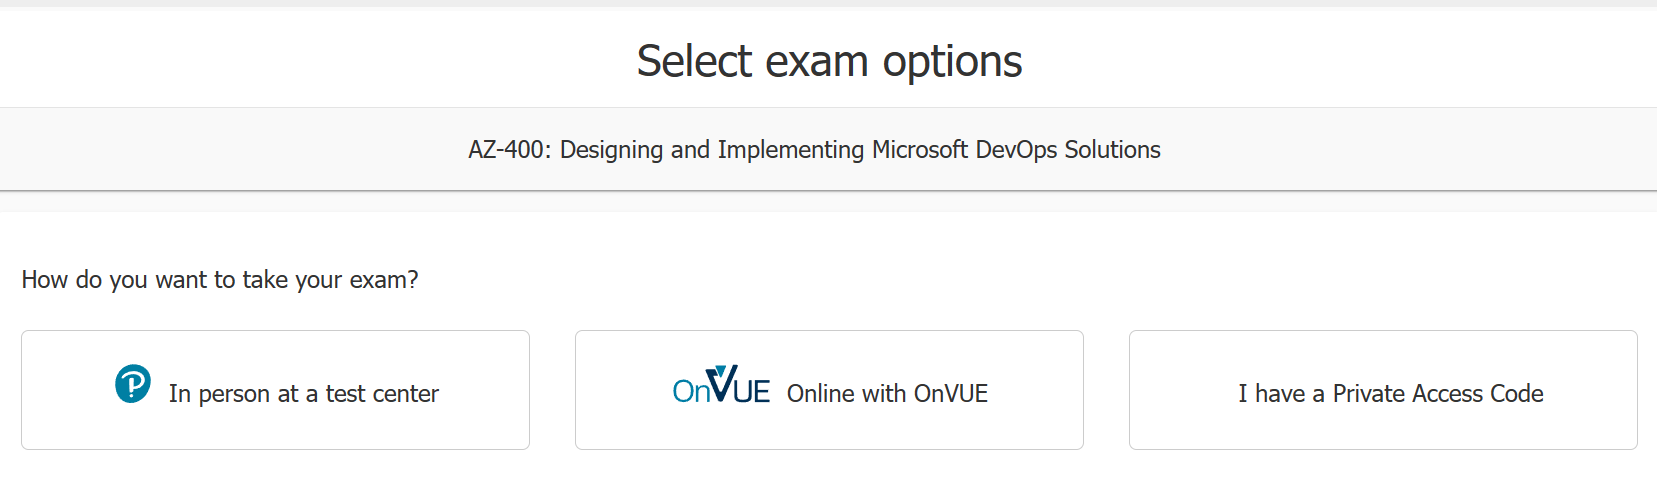
- At a test center - you will physically have to go to the location and take the exam there (this is the best option, more on that later)
- Online using the OnVue app - you will take the exam in your home/office, no need to travel anywhere (this is not the recommended option)
- Using the Private Access Code - some training courses (usually the paid ones) end with the class taking the exam right there. You can also get the code if you have relationship with a private testing center that can schedule you individually.
After you click on one of the options, you can see more specific information. When rescheduling, you can’t switch between them, you must cancel and order the exam again. This will most probably not return a voucher if you used one. You will need to contact Certification Support if that is the case.
Testing Center vs Online exams
| Onsite | Online |
|---|---|
| Should arrive 15 minutes before the exam starts | Should check in 30 minutes before the exam starts |
| Testing center is responsible for equipment working | You are responsible for your equipment working |
| You are placed in a room where there might be other people taking exams | You are at home where the room needs to be locked, stripped of everything that could be used for cheating and photographed |
| You need to bring a valid ID, take a picture and sign a document | You need to take a picture of your ID, take picture of yourself and multiple pictures of your testing space |
| You get a small whiteboard with a dry-erase marker to take notes | Whiteboard is provided in the testing environment to take notes but you need to write with your mouse |
| You are not forced to look at the exam screen the whole time | If you don’t look at the screen the whole time, the proctor might revoke your exam |
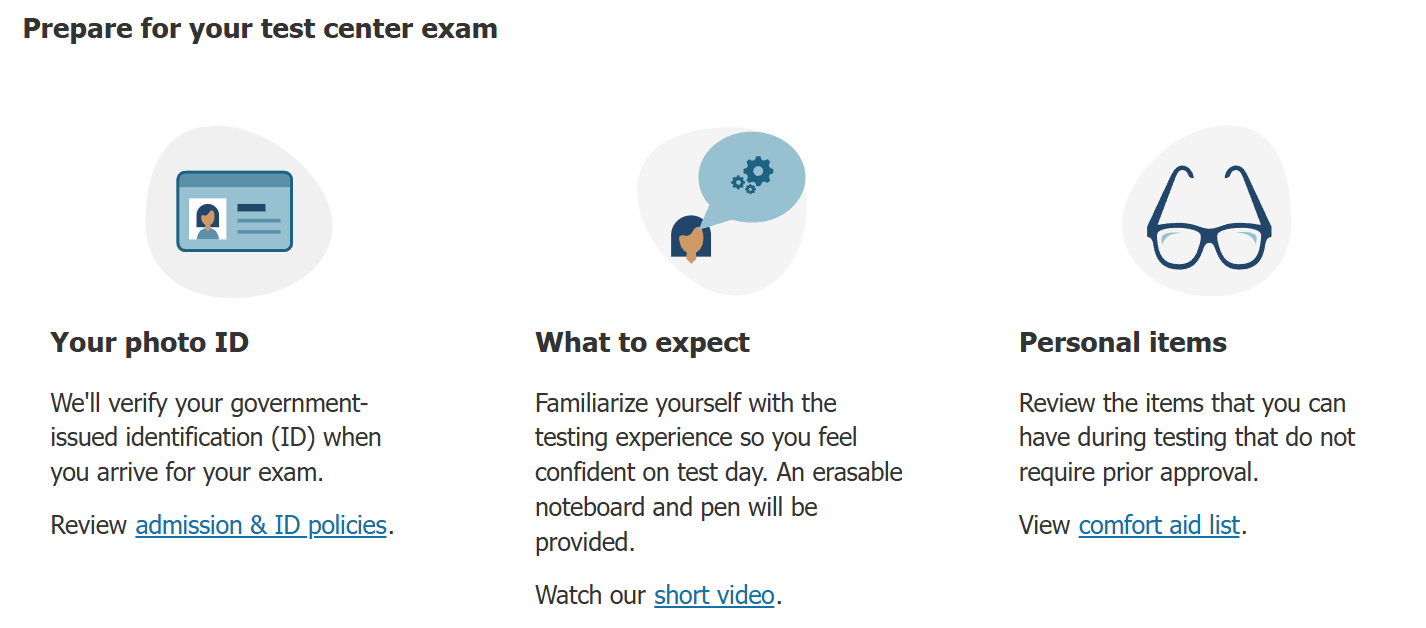
For the testing center exams:
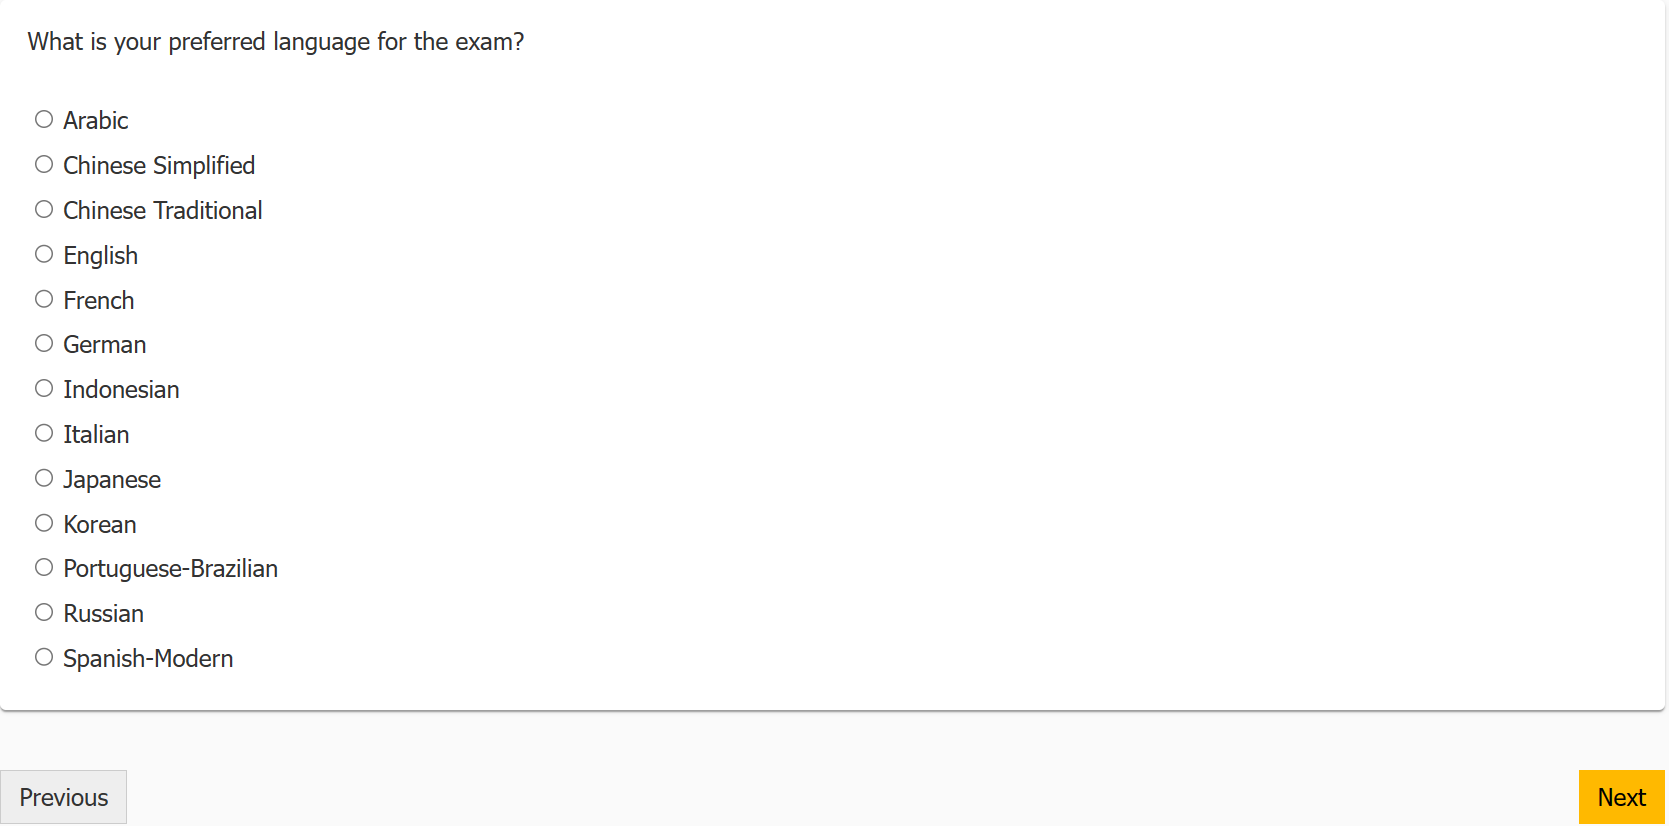
Now you need to choose a language. I personally recommend English as the translations are sometimes weird.
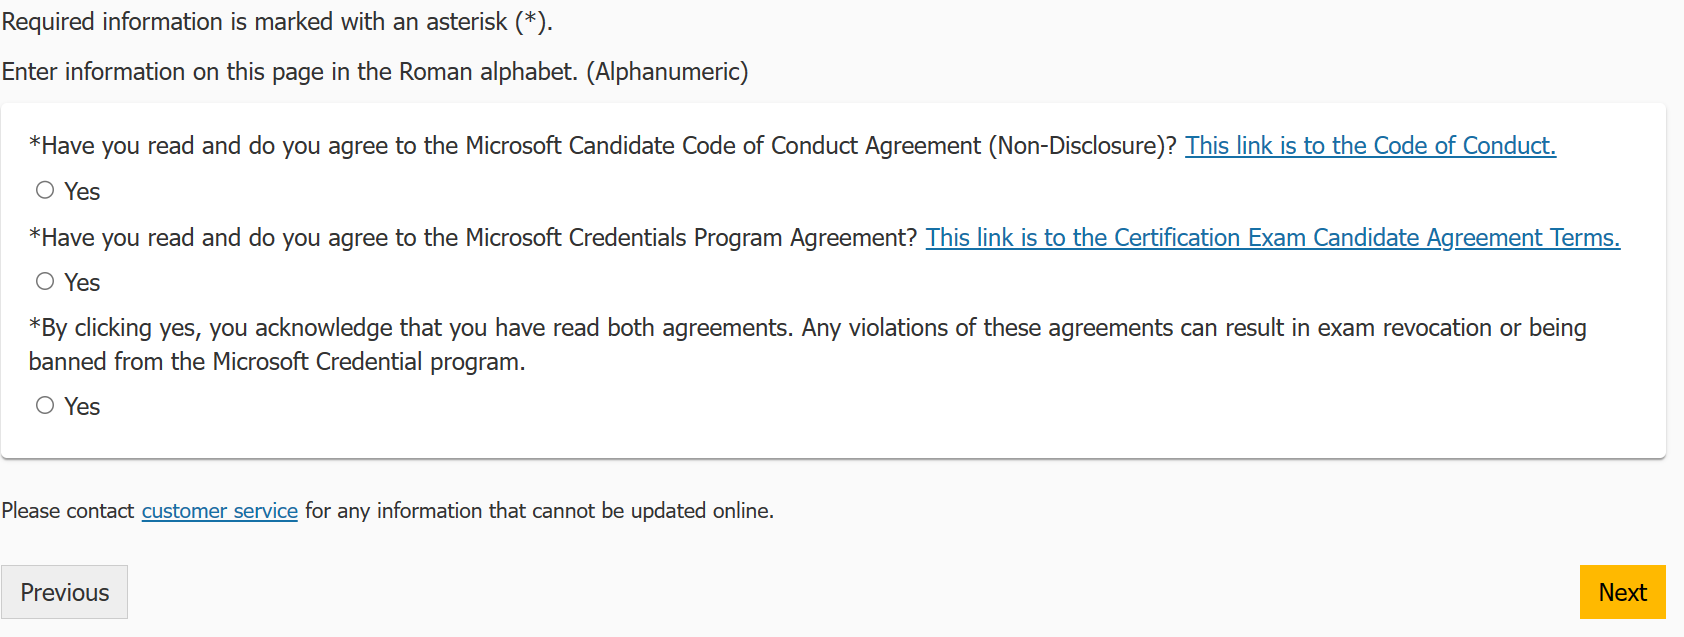
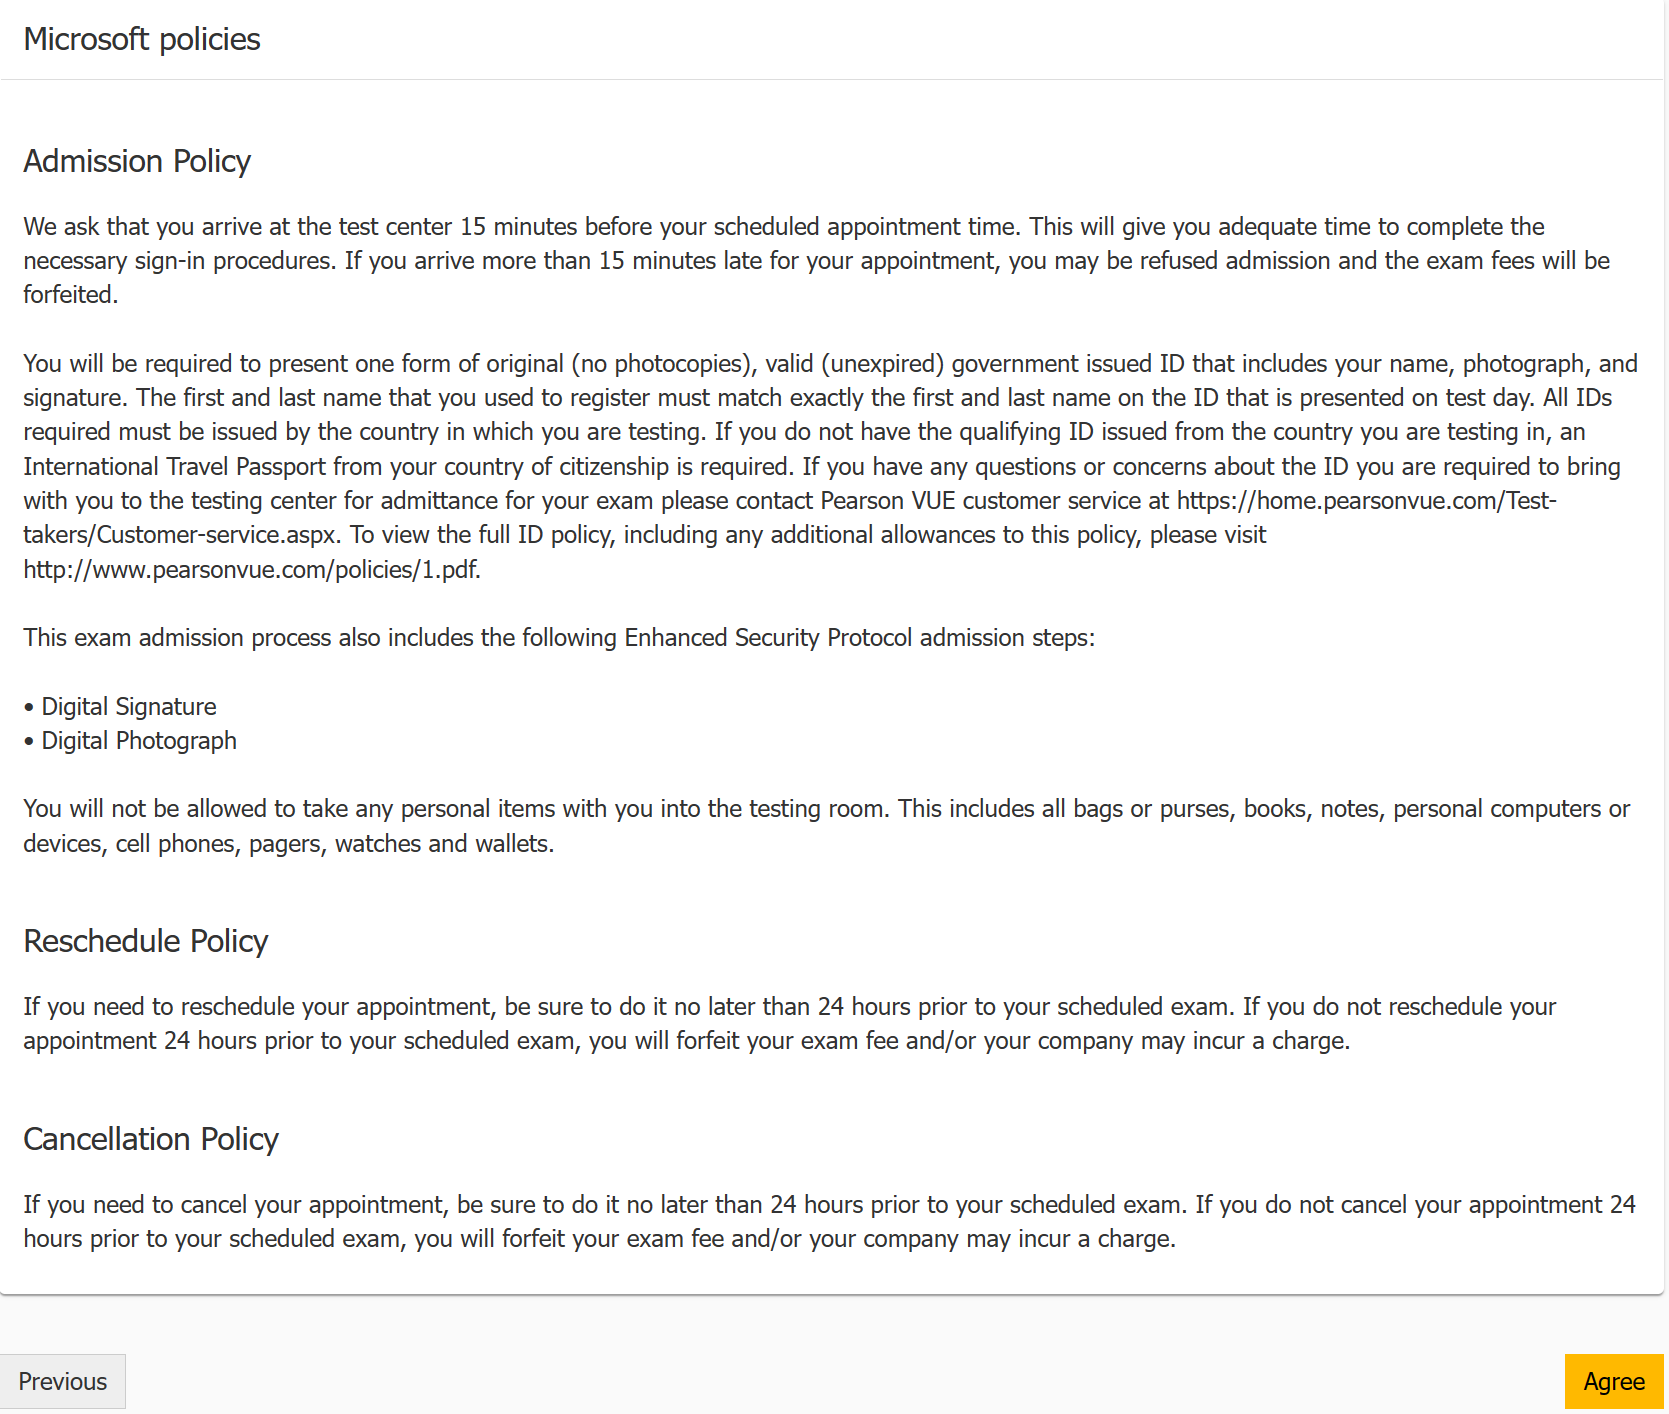
After selecting a language you get to the policy and general information page. For an online option you need to agree to a bunch of stuff (you can click the text, no need to hit the boxes, saves a few seconds).
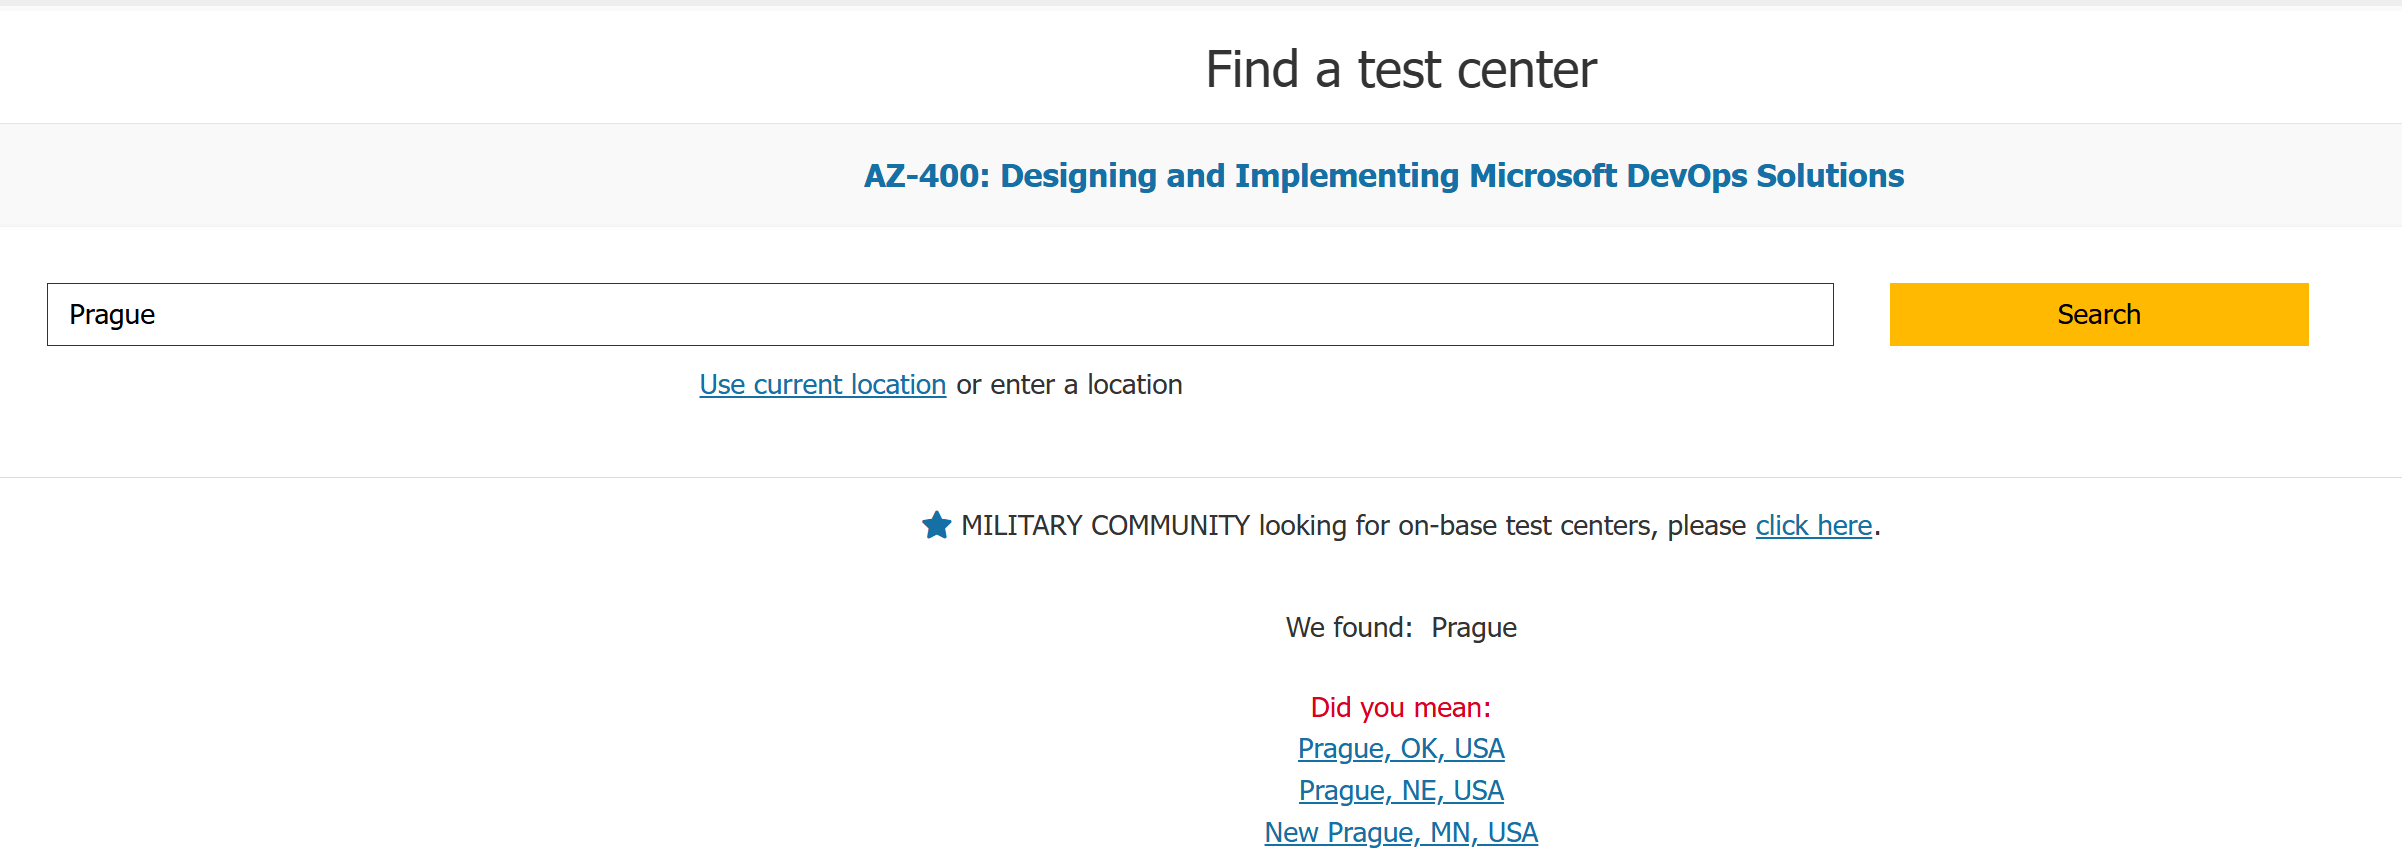
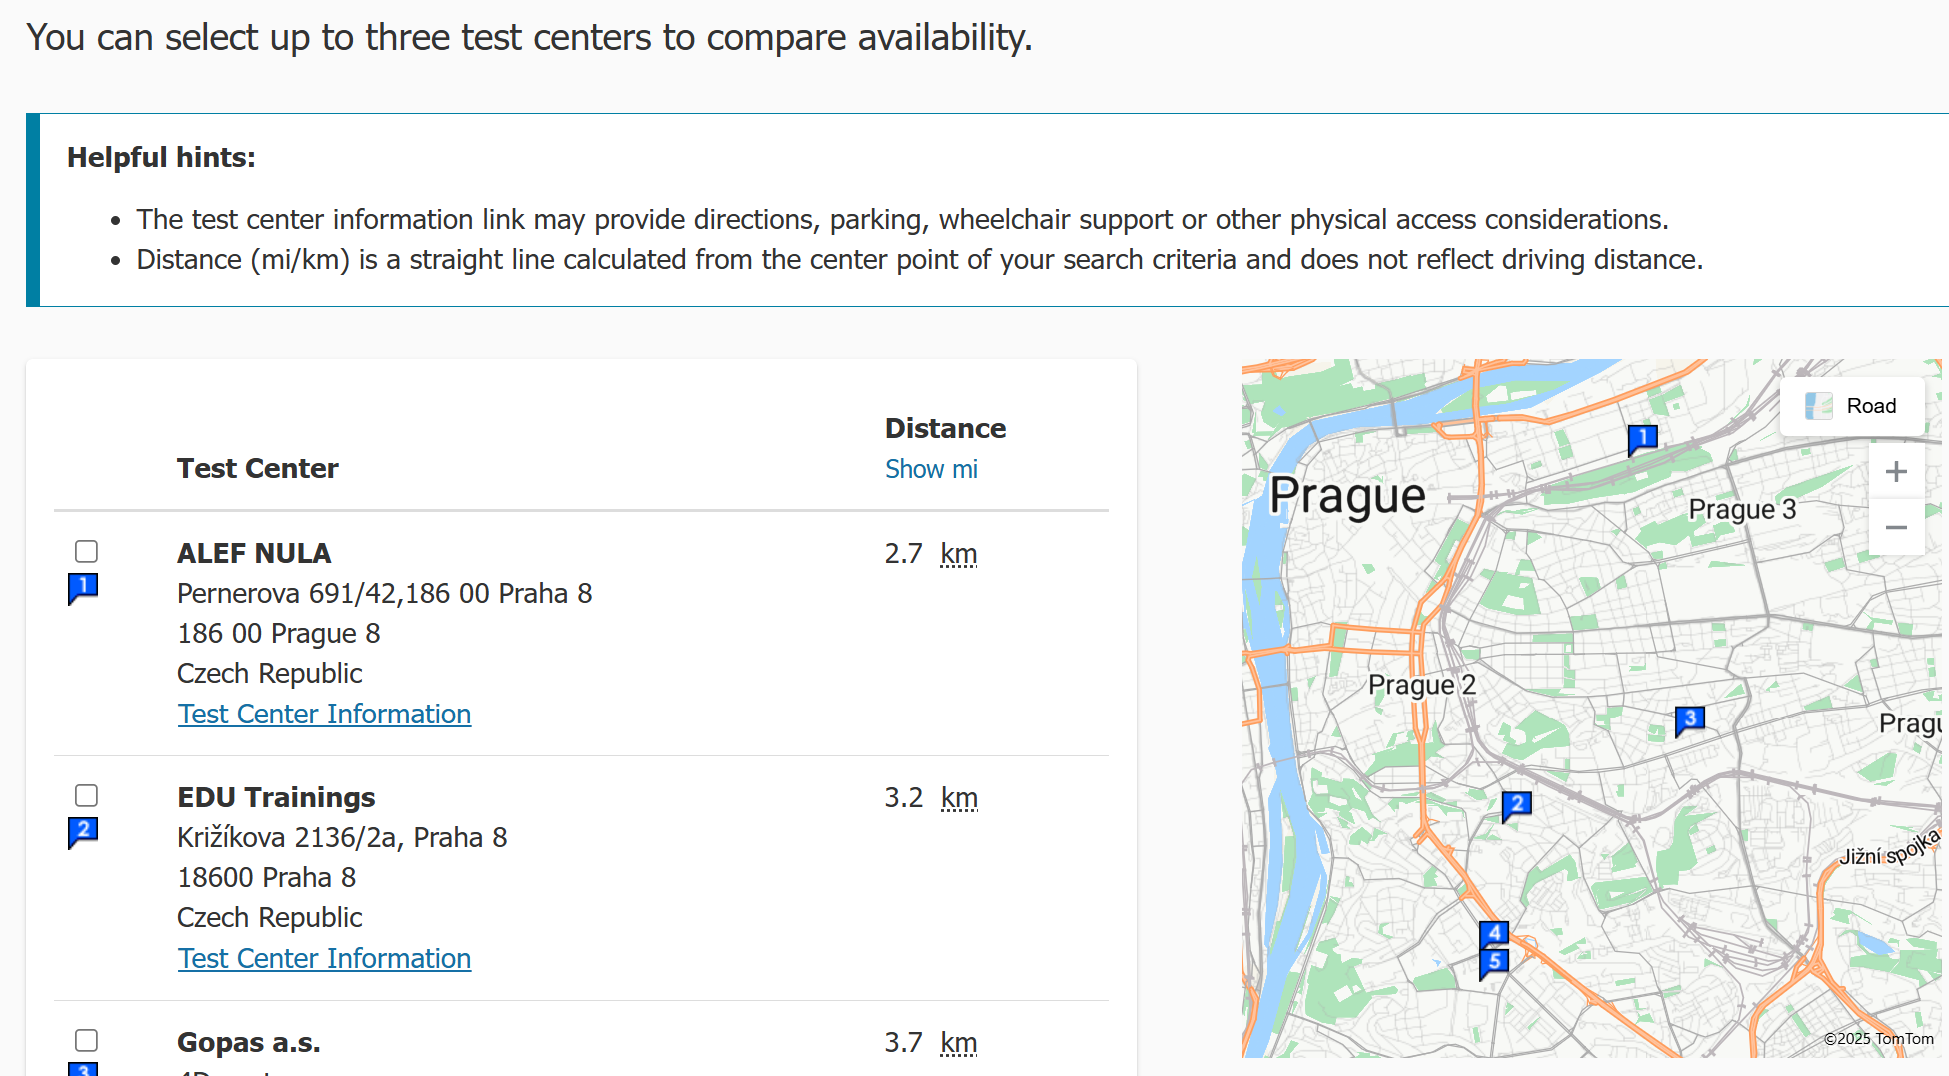
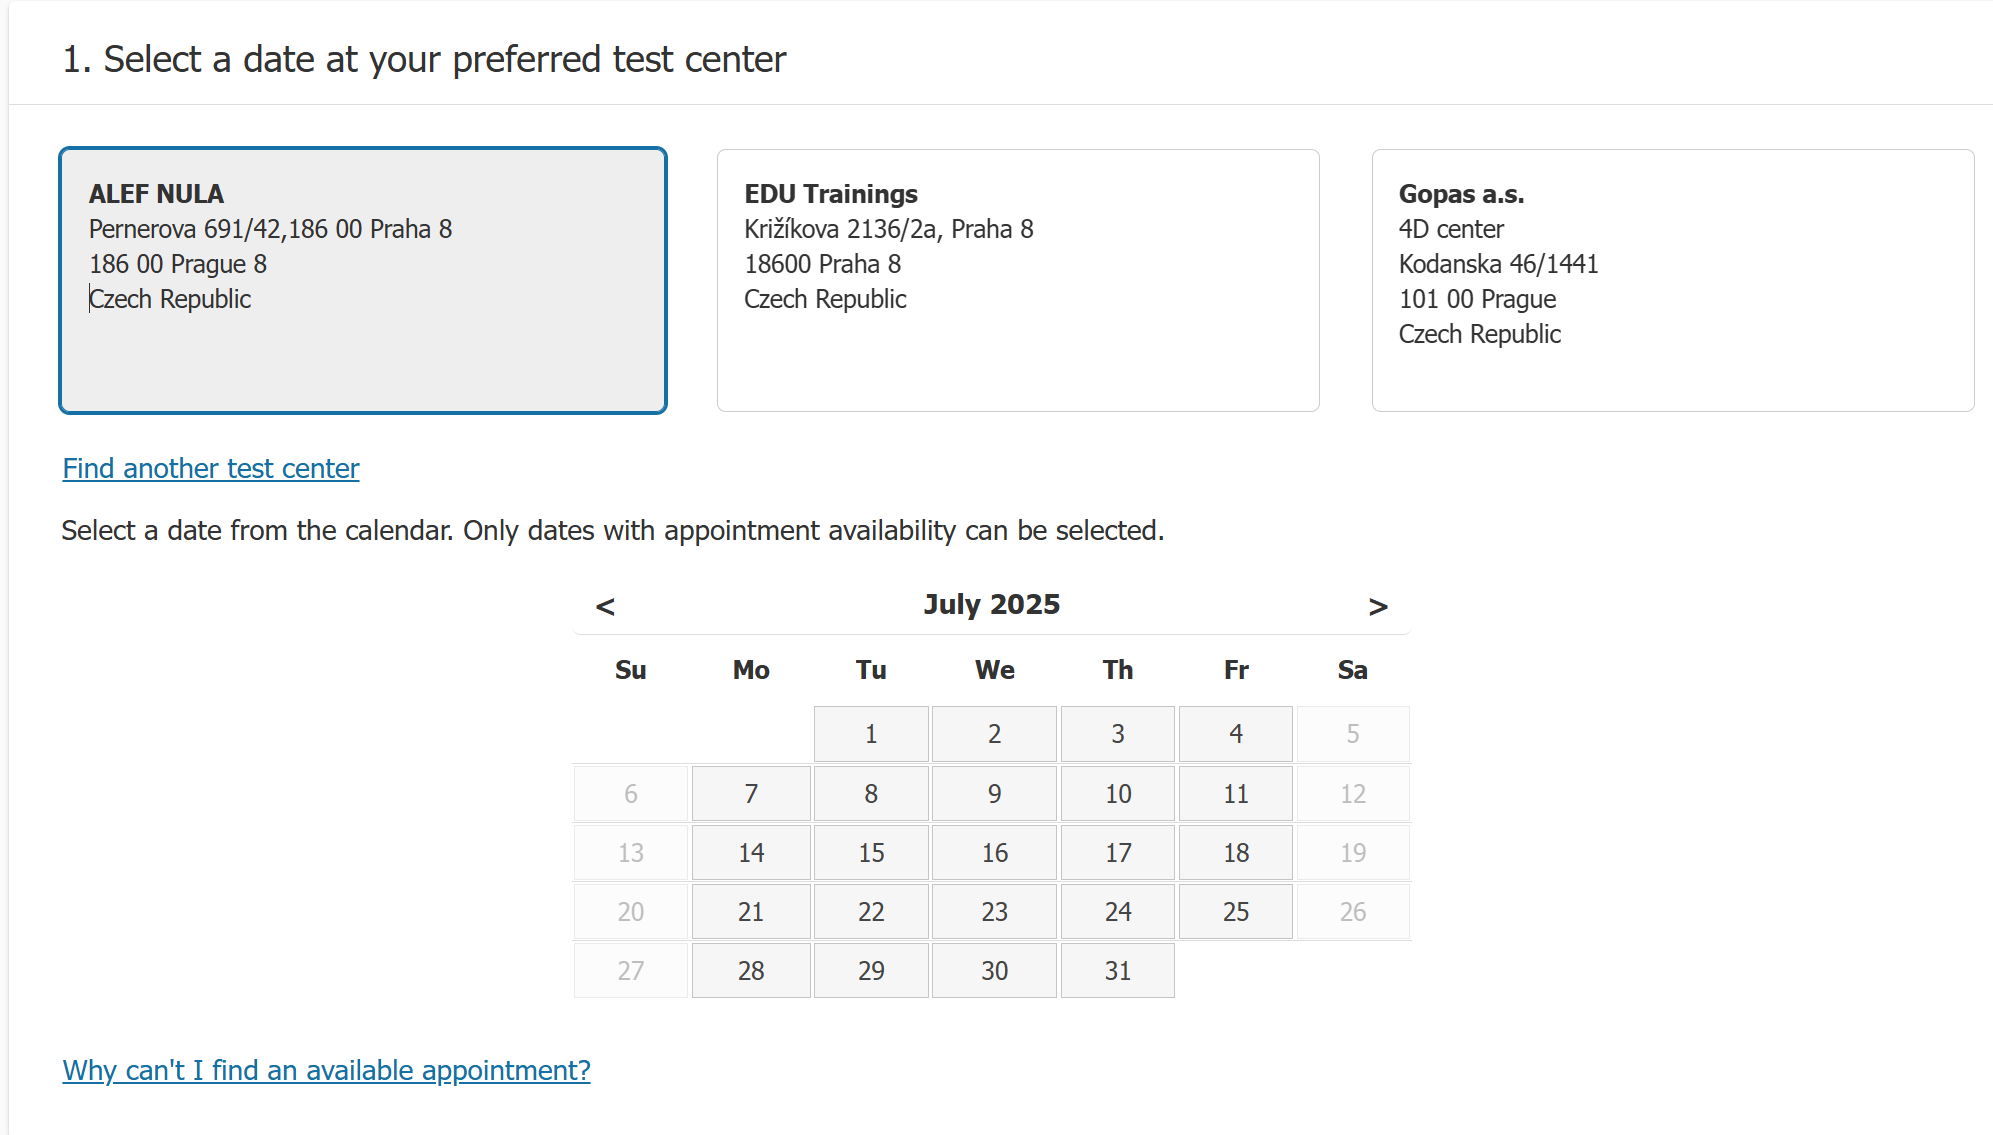
For online exams
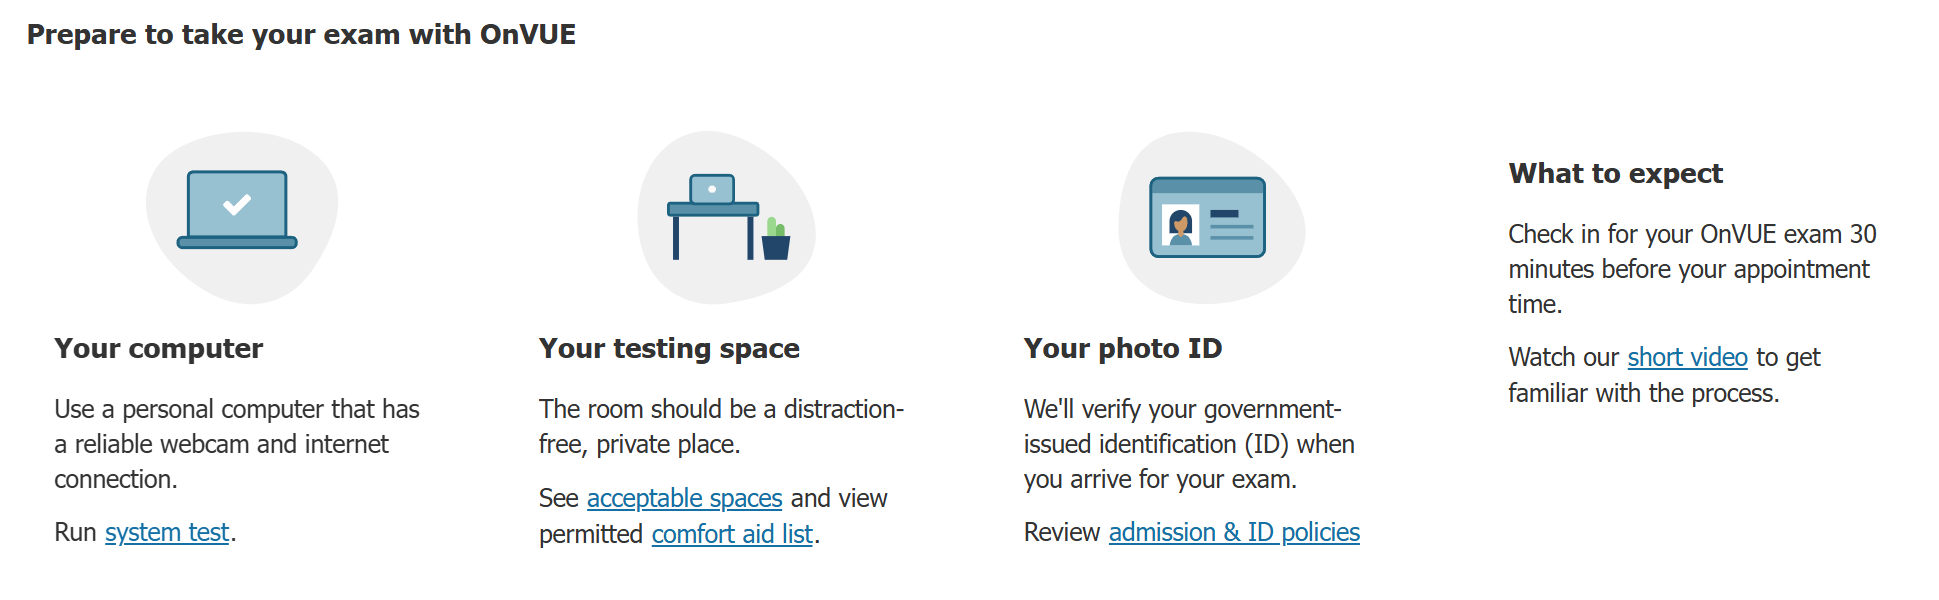
Now you need to choose a language. I personally recommend English as the translations are sometimes weird.
After selecting a language you get to the policy and general information page.
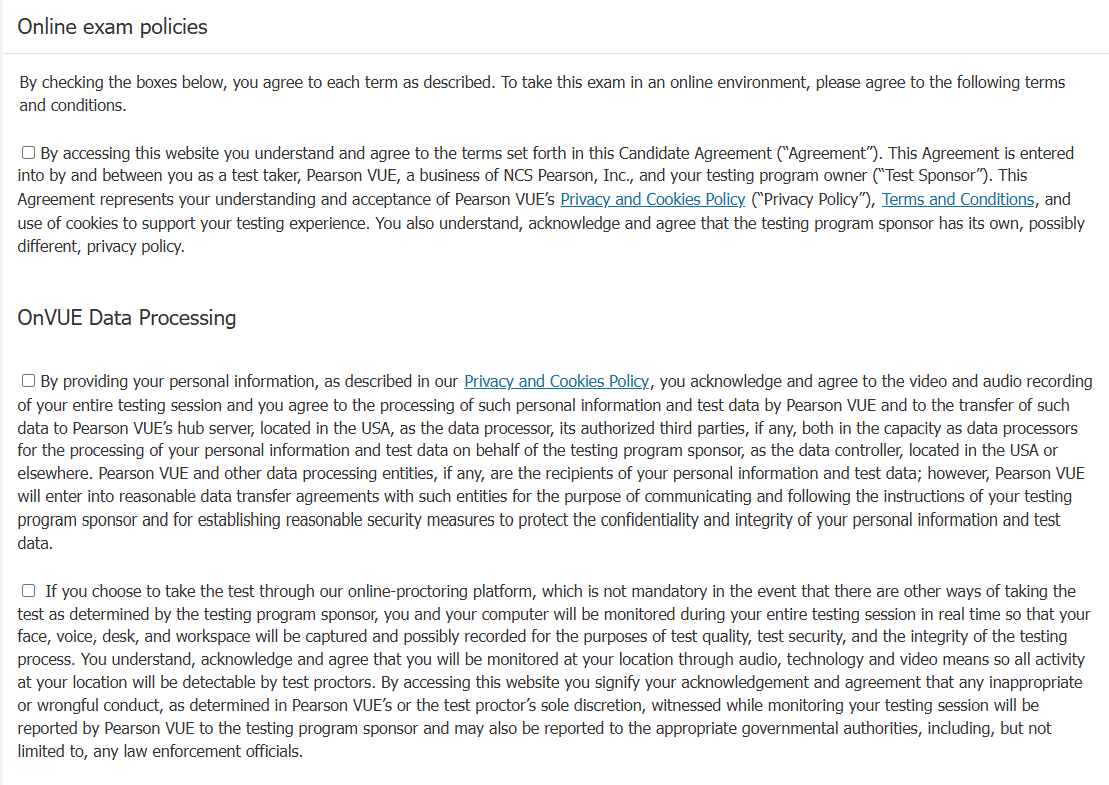
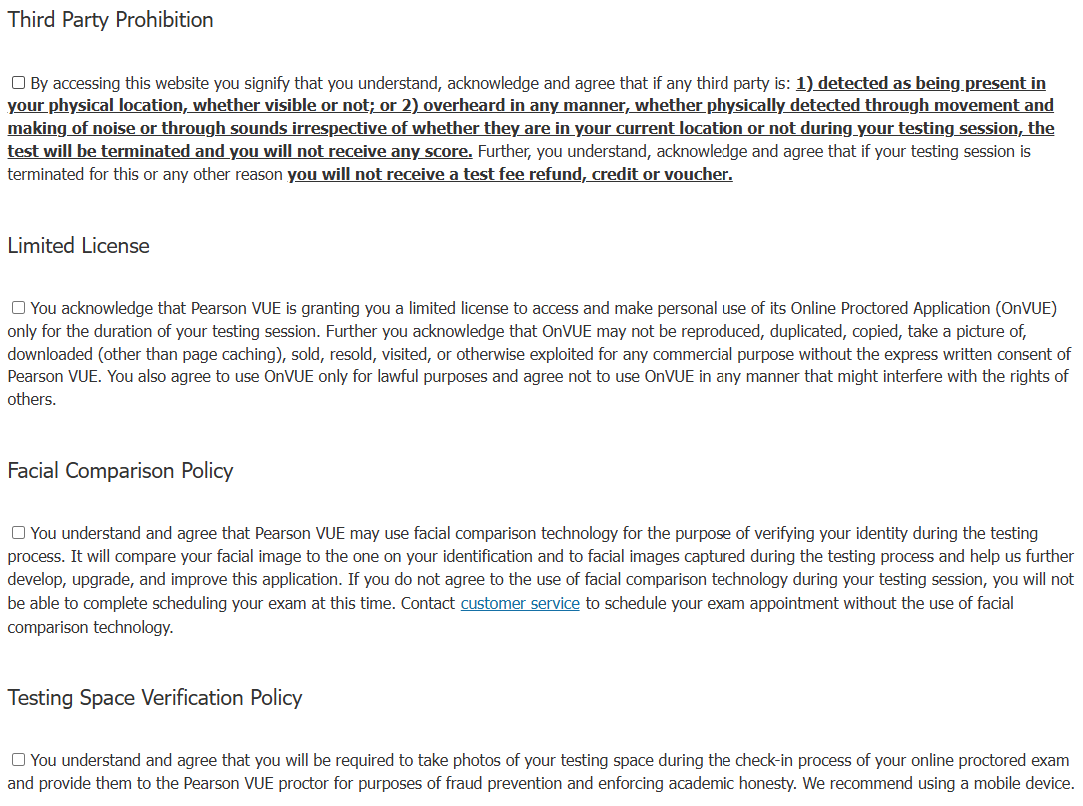
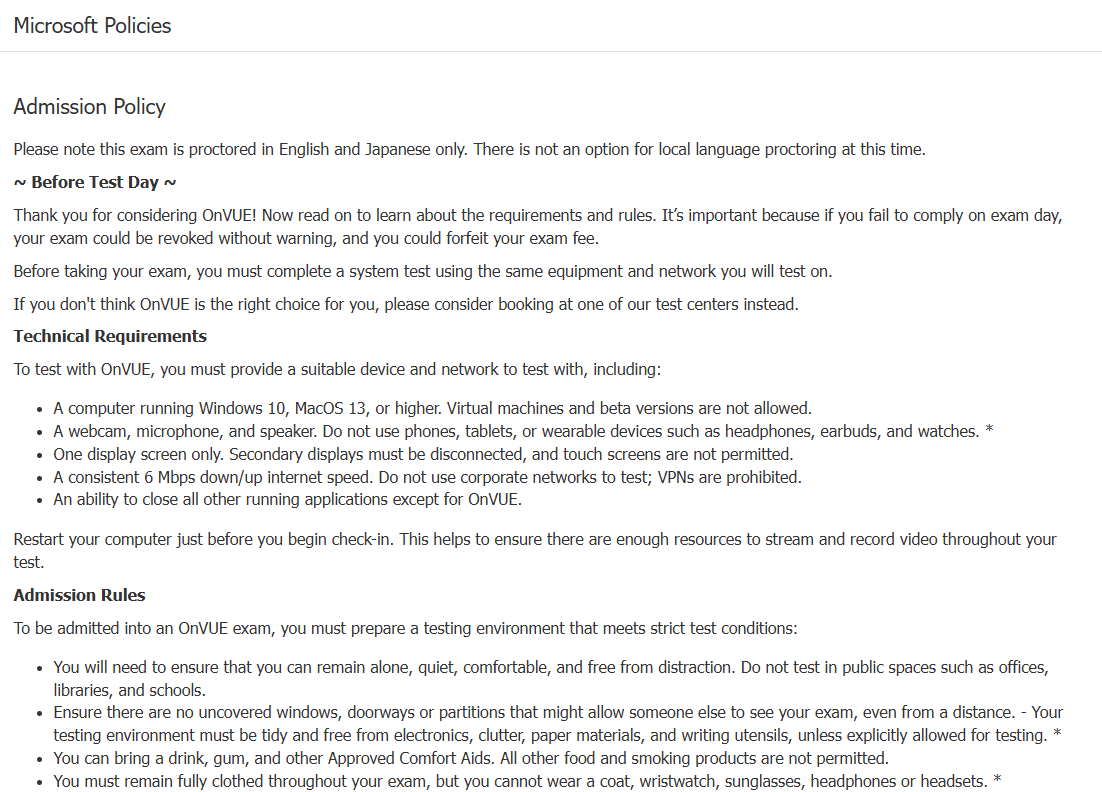
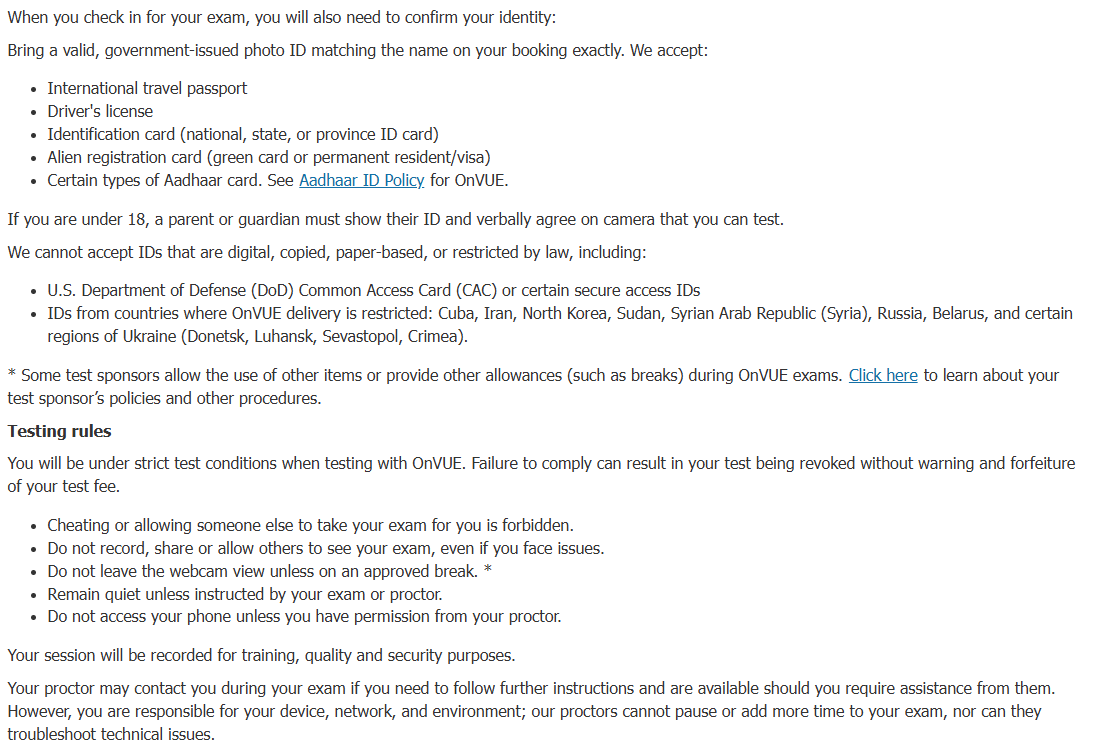
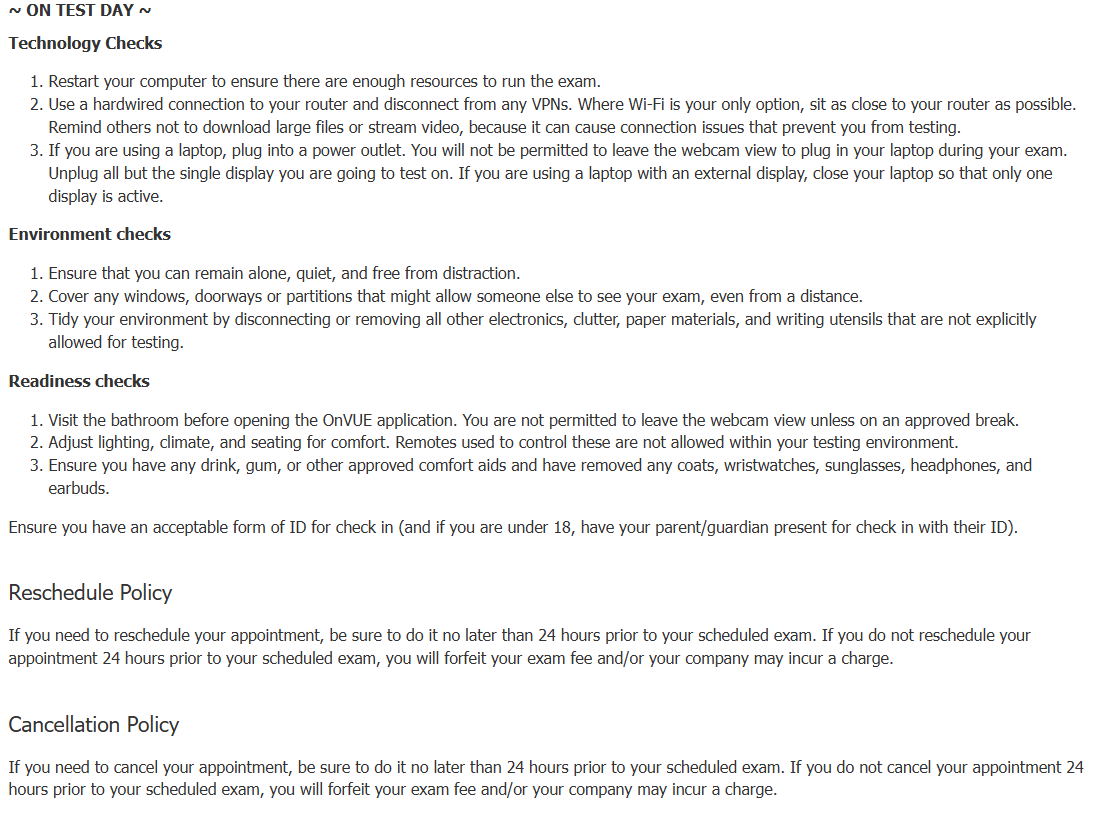
After agreeing to everything, you need to pick the language of your proctor.

After that you pick a timezone and time slot for your exam.
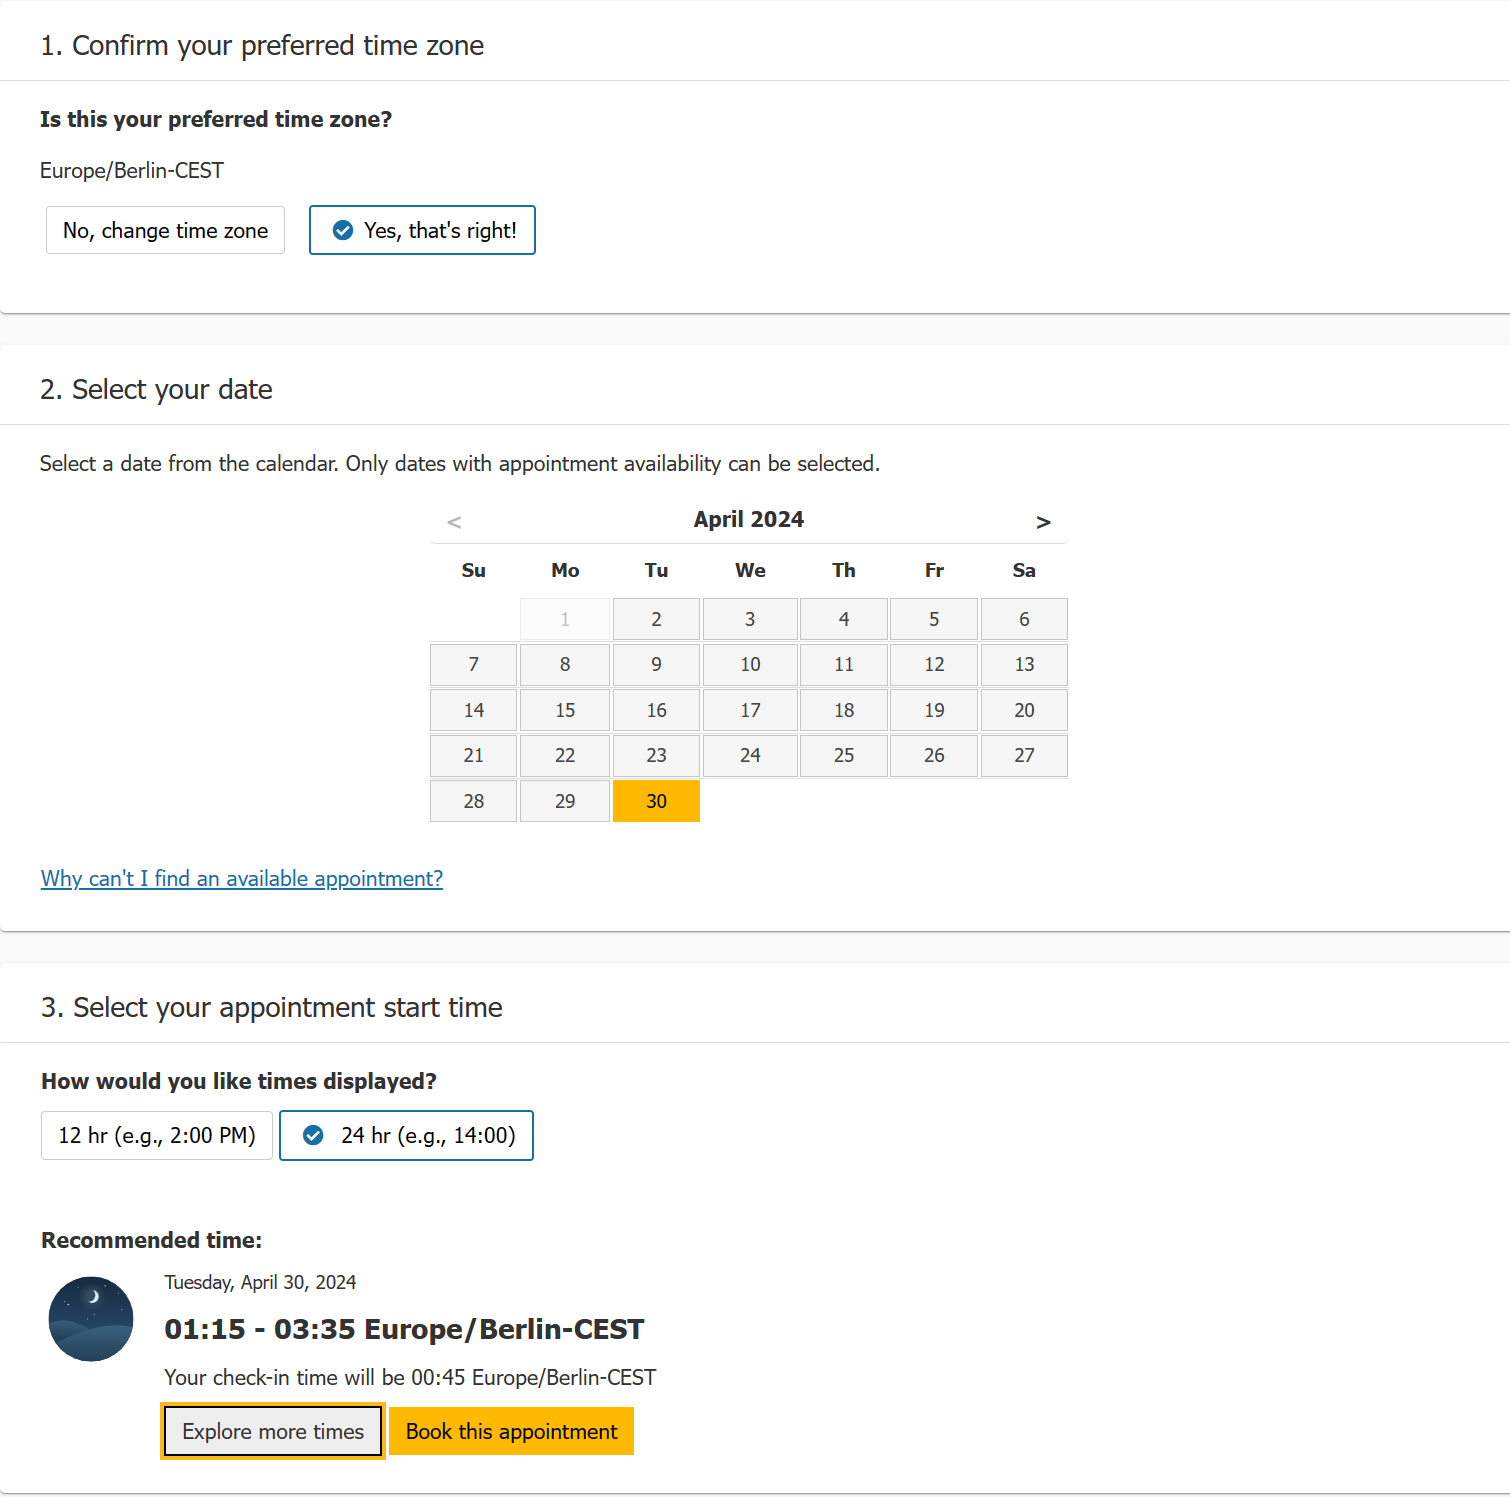
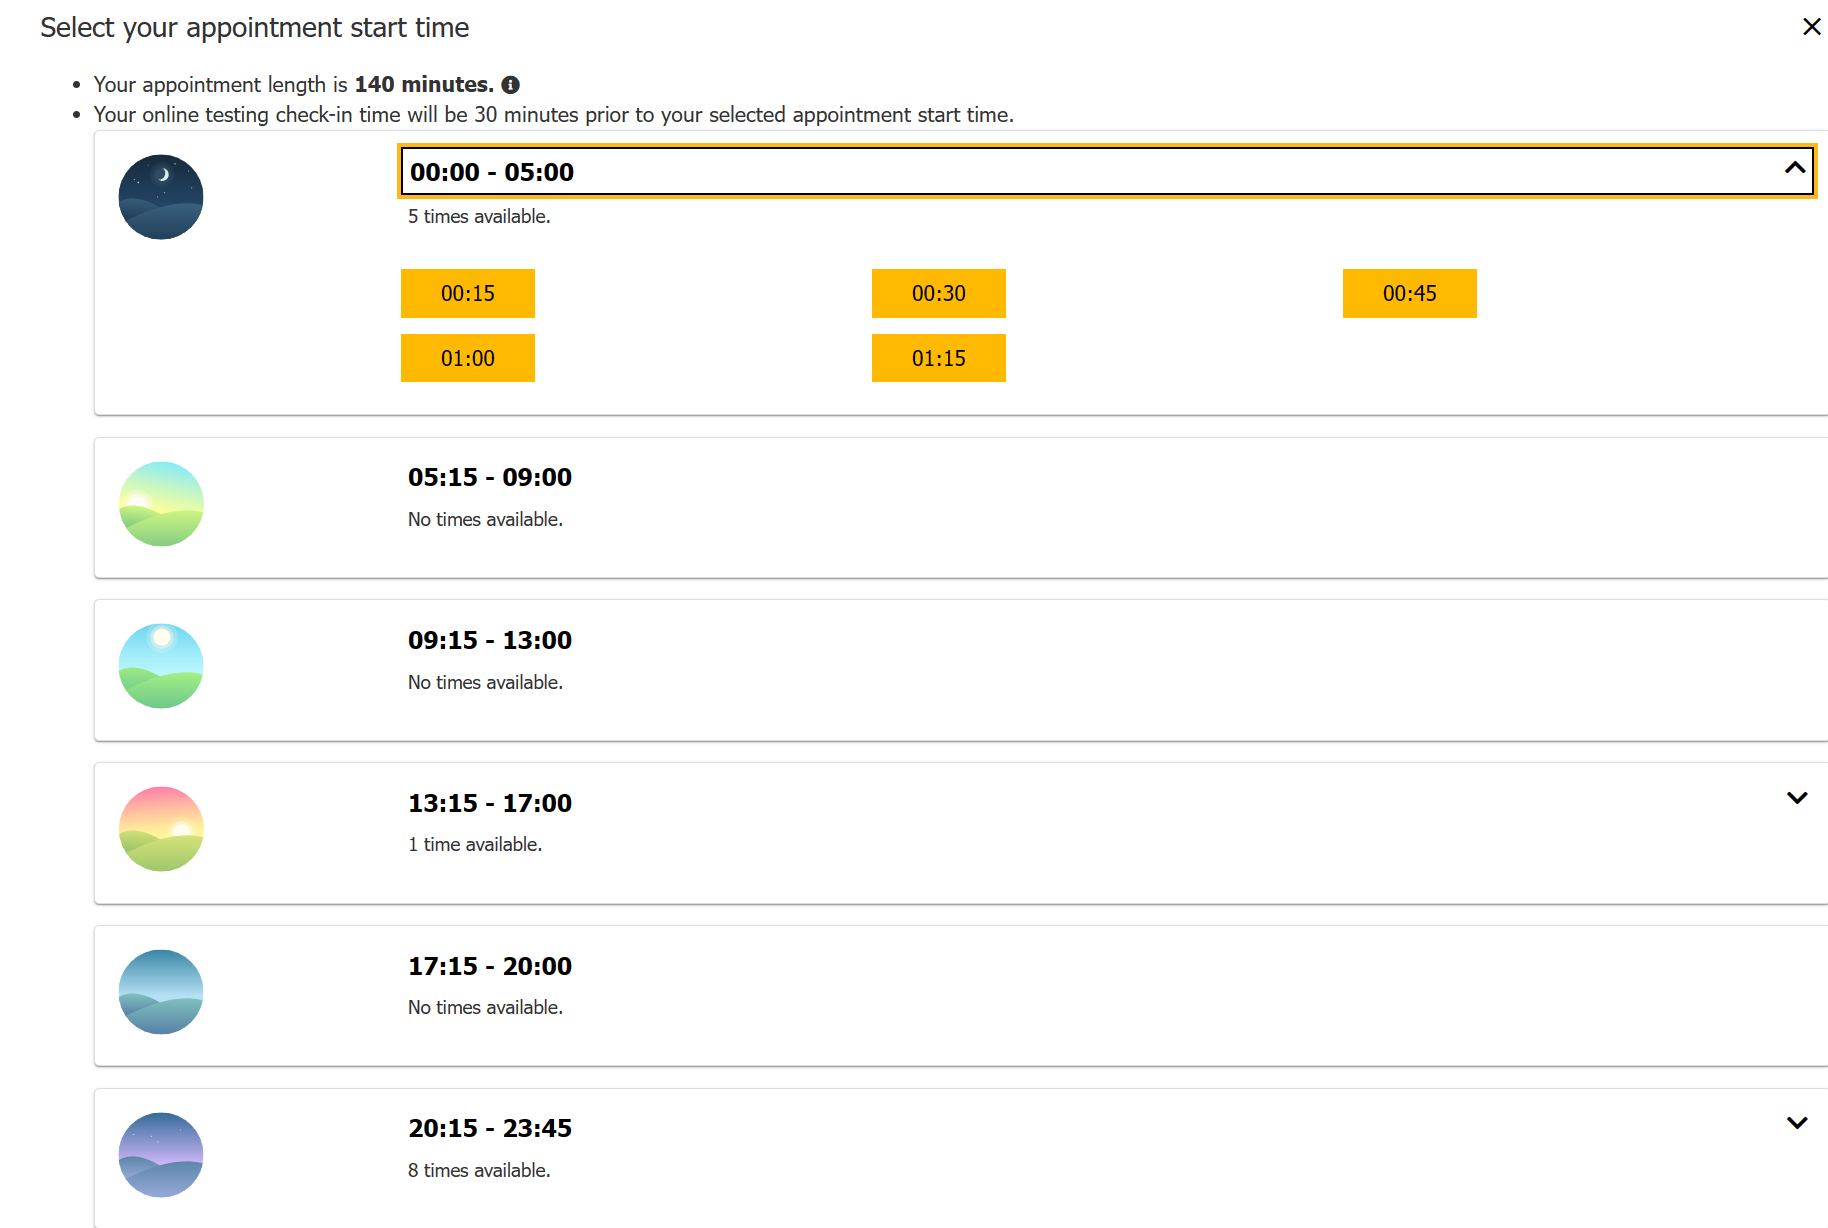
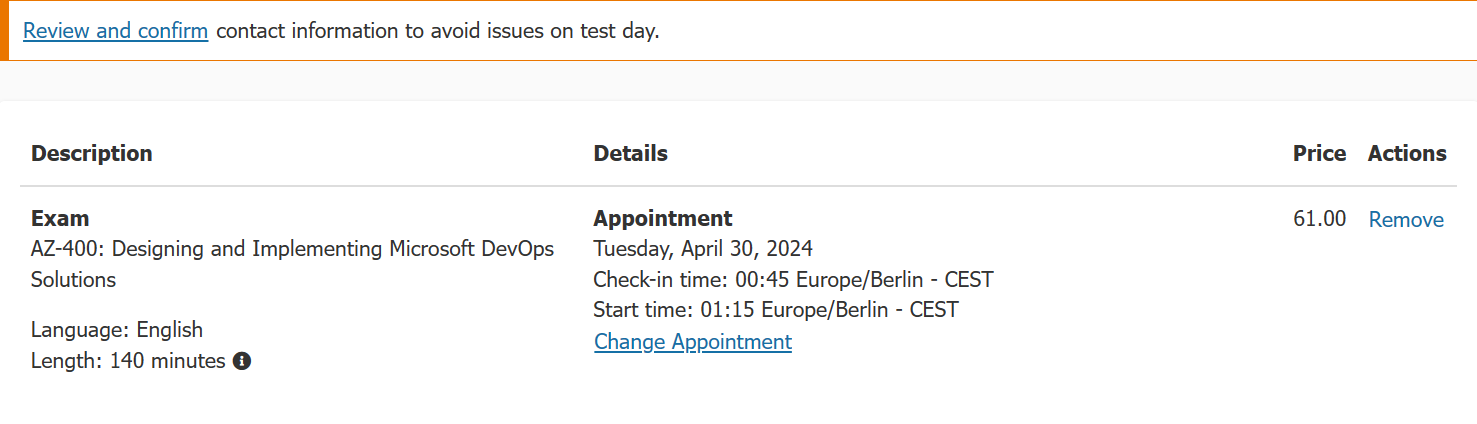
After choosing when you will take the exam, you will get to the cart, there you verify all the information.
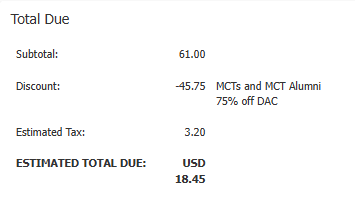
On this screen, you can also see the voucherless discount being applied automatically in case there is one linked with your Microsoft Learn account.
Checkout and redeeming Voucher Codes
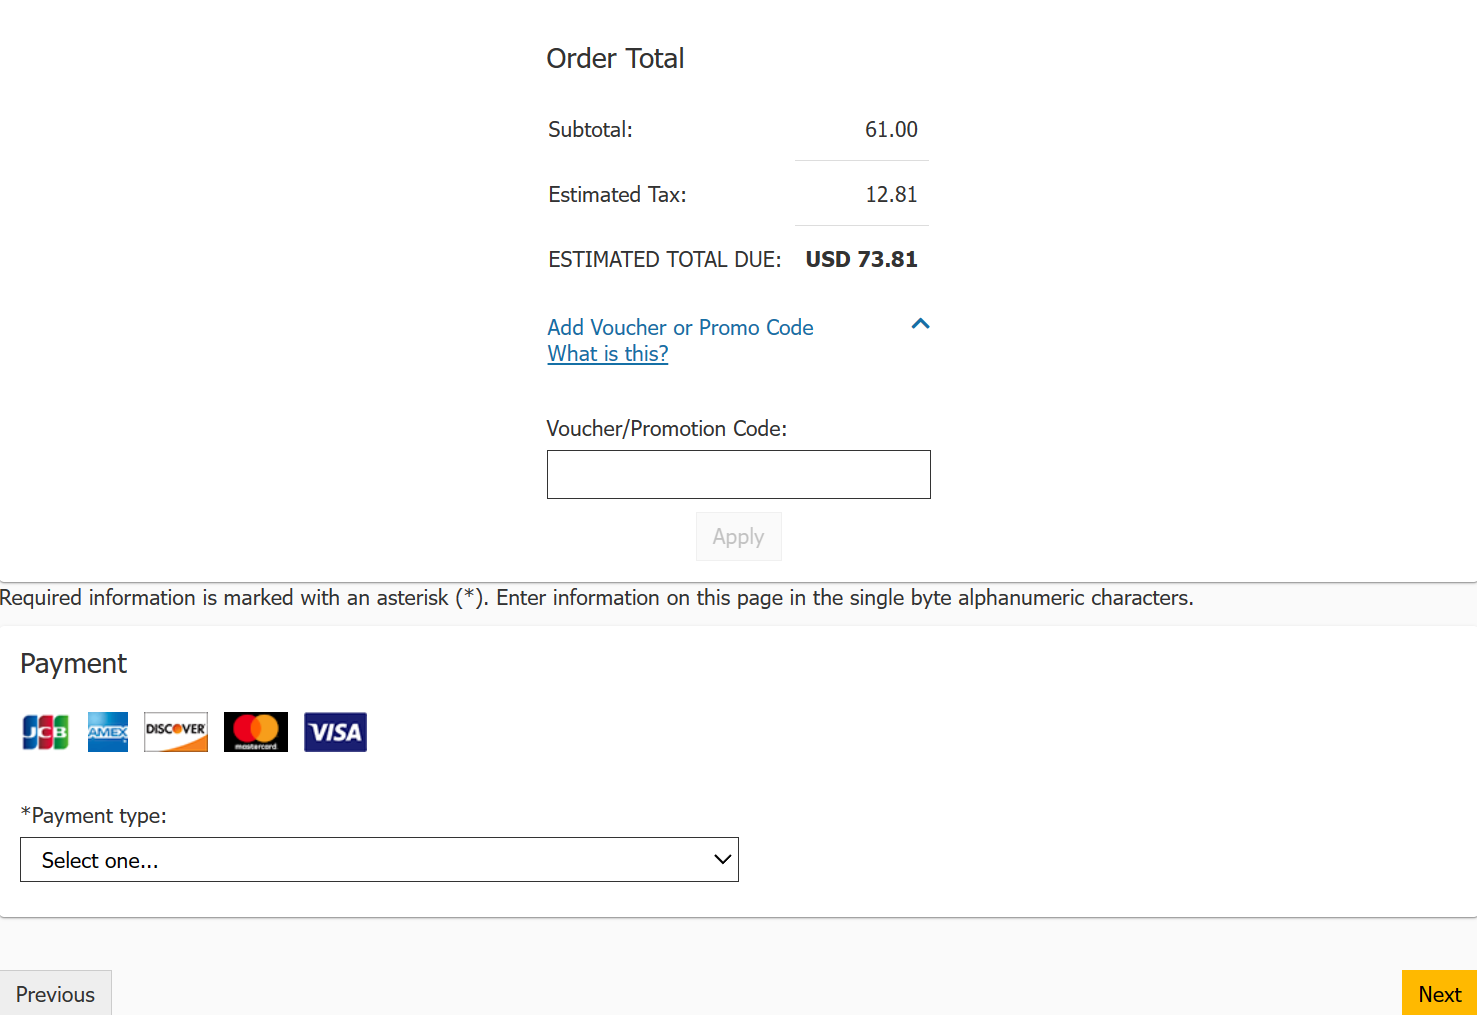
After Proceeding to check out here is the final page where after you enter payment information.
If you have a voucher code, you will input it under the estimated price, the button is Add voucher or Promo Code. If you have 100% off voucher, the payment option will disappear and you can order the exam immediately.
After successfully ordering the exam, you should see the details of the appointment in the Certification Dashboard. If you don’t, contact Certification Support immediately.